Makeup By Kim Porter

makeup tips

My Most Used Makeup Brushes

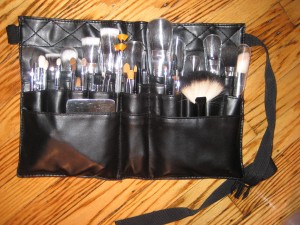
First, here’s a picture of my brush belt.  I purchased this at The Makeup Show New York from Crown Brush $15.  I had to wash it to get rid of the chemical smell. It’s died down since. (CLICK HERE for Video)

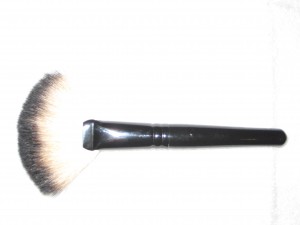
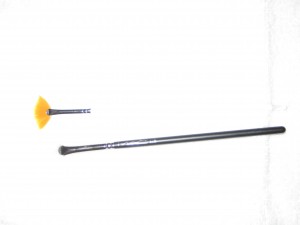
Large Fan Brush – Used to dust off translucent powder or add highlight powder

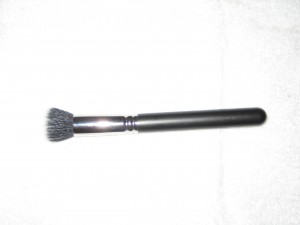
MAC #130 Brush (CLICK HERE) – Foundation, Cream Blush, Tinted Moisturizer Etc

MAC 224 Blending Brush – Blending & applying concealer under the eye, dusting setting powder on top of concealer under the eye.

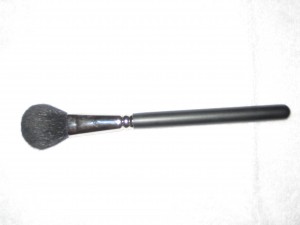
MAC 116 Brush – Blush & highlight

Mascara Fan Brushes – Precise application of mascara  without clumps or mess

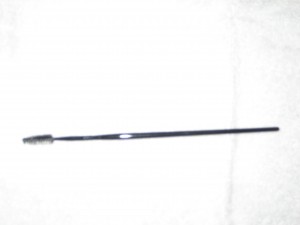
Spoolie – Mascara, Grooming brows, Removing Glue when applying lashes

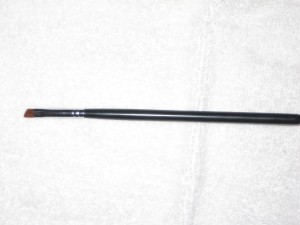
Angled Liner Brush– Applying Eyeliner, eyebrow grooming, applying e/s to the lower lash line.


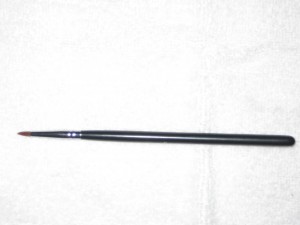
Liner Brush – Gel liner, brow grooming, lash glue

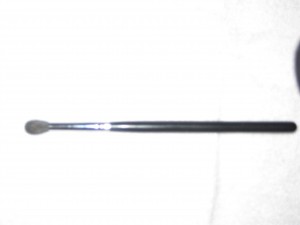
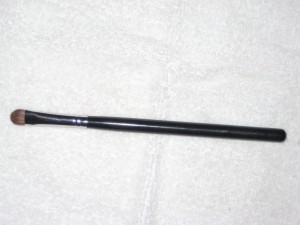
239 Shader Brush – Applying Eyeshadow all over the lid

For more information on brushes and uses check:

Makeup Brushes & Uses Part I & Makeup Brushes & Uses Part II

Enter my giveaway!

Steppin’ Hot! + MAC’s #130 Brush

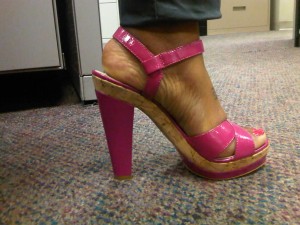
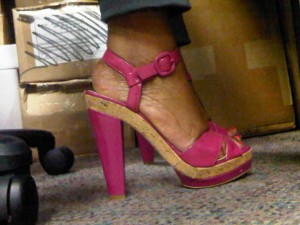
I purchased these shoes a few years back in October during Miami Carnival in 2007.  They were on-sale for $19. i think the original price was $129? Anyway, it’s a funny story because I forbidden to spend. I put myself on a strict budget at the time.  My friend made me buy them because they were cute & on-sale for $19!  I made the clerk throw the box out, and stuffed the shoes in my large bag, & hid the shoes once i got back to my room .:lol:.

These sandals are very comfy too! I can walk in them all day.  Great shoe to bring a pop of color to any outfit.

Today, you can check out my blog post about the uses MAC’s #130 Duo Fibre Brush, which was re-released with the To The Beach Collection over at Opal Fusion Mag (CLICK HERE).

Don’t forget to enter to win a Corioliss Pro Flat Iron CLICK HERE


The Best Tinted Moisturizer Ever!

Tinted moisturizers are great products to use, especially in the summer months when you do not want to wear tons of makeup.  Last year I was using Artisty’s Tinted Moisturizer ($22) which has SPF.  I would also use Make Up For Ever’s (MUFE) Face & Body Foundation, which is waterproof.  I found most satisfaction with the MUFE Face & Body, but I would still consider the Artistry Tinted Moisturizer during the day because it has SPF.


While there are many excellent tinted moisturizers on the market, you may find that some are too dark, too light, too heavy, too oily, or not moisturizing enough – the list goes on.

If you still haven’t found your perfect tinted moisturizer, you can try this beauty secret for making your own tinted moisturizer that’s perfectly customized to fit your skin’s needs. 

***Mix one part foundation (powder, cream, or liquid) with two parts of your favorite moisturizer. 

Note: If you tend to get oily, stay away from oil-based mositurizers & products. Also, oil-based products in the summer & heat tend to make your skin feel & look greasy & dirty.

Application:  Use a #130 Duo Fibre Brush to stipple the moisturizer over the face to ensure even application. 

Making  your own tinted moisturizer allows you to easily adjust the color, and build up coverage.  If you need more coverage, add more foundation.

Want a tinted moisturizer to match and enhance your tanned skin,  or bring out your summer glow?  Just mix in a little powdered bronzer into your homemade tinted moisturizer or you can mix in some liquid illuminator drops in as well.


If you are not into making your own, Makeup Artist Sam Fine recommends Laura Mercier’s Tinted Moisturizer with SPF 20

Still need tips on summer weather makeup must haves? CLICK HERE

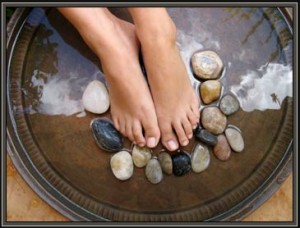
Just in time for the warm weather: Pedicure Routine

Unless I am feeling super lazy, I almost always end up giving myself a pedicure.  Most of the time, I find I do a much better job than the nail tech anyway; I’m picky.  If I want to be pampered, I head over to my fave nail salon, Dashing Diva on Montague Street in Brooklyn. Otherwise, I follow these steps to get my feet smooth & pretty!

1.  Take all nail polish off of toe nails

2. Buff & shape nails with an emory board & buffer.

3. Place a drop of Jamaican Black Castor oil on cuticles & massage in

4. Soak my feet in warm water with baby wash (I know people like super hot, but that dries your skin out).

5.  Push Cuticles back & clip if needed.

6.  Massage Mary Kay’s Satin Hands Scrub onto feet (One foot at a time. Leave one foot soaking). Seriously, this stuff makes ymy feet SUPER soft!

7.  Use a pumice stone to smooth out any rough areas.

8. Rinse off the Satin Hands & pat dry.

9.  Apply Avon’s Foot Works Dual-Action Pedi Peel (click here to order) It’s currently on-sale for $3.99. It keeps my feet nice & soft.

10. Apply base coat, let dry for a minute or two.  I normally use my Dashing Diva True Color Base & Top Coats mentioned here.

11. Apply Nail color (2 coats) & let dry fro a minute or two.  Then follow with the top coat.

Voila! Perfectly pedicured feet!

How do you keep your feet pretty between nail salon visits?