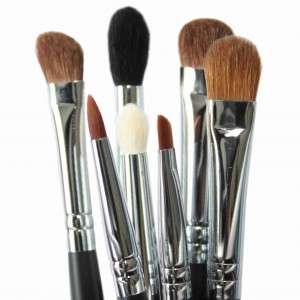
Several types of makeup brushes are designed specifically for use in the eye area. Though a small collection of basic brushes are typically sufficient for the average woman (those who are new to makeup), a more diverse variety is available for those who love to spend time playing up their eyes.
Applying makeup with brushes can mean the difference between a perfectly blended shadow and a blotchy, uneven shadow that strays beneath the lashes or into the eyes.
Makeup applicator brushes come in two varieties:
- Synthetic – made from synthetic. Synthetic brushes made from Taklon are high quality. The worst synthetic brushes can feel like you’re dragging sandpaper across your face.
- Natural – made from natural hair, such as squirrel, badger, or goat hair. The natural brushes are often superior to the synthetic brushes.
Below are some of the many eyeshadow applicator brushes and their uses.
Eyeshadow Brush
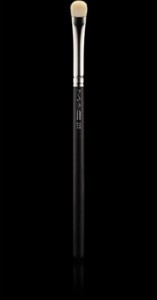
The most basic of all makeup brushes. These brushes pick up and deposit color with greater efficiency than typical sponge applicators.
They’re vailable in a variety of sizesand may feature slightly angled or tapered hairs. They might also be constructed with short handles for convenience, or longer handles for ease of use. Try Sigma E55
***An all over shadow brush is an ideal basic brush that will apply color evenly to the entire lid or layer colors for a more complex look.
Eyeshadow Crease/Pencil Brush
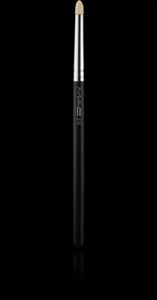
Great for adding dimension using darker colors to contour eyes. The brush is domed shaped and tapered, to fit int your crease. This brush allows for precise application and expert blending with ease.
Try Sigma E30
Eyeshadow Blending Brush
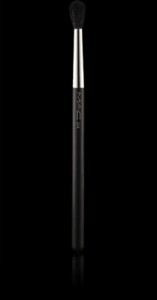
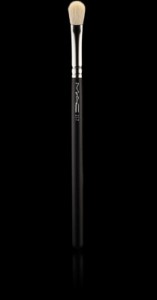
They are used to blend different colored products and to wipe out harsh lines. They come in a variety of shapes and sizes. Not as firm as eyeshadow brush heads, the heads of blending brushes are usually tapered. This will be your second staple brush (behind your eyeshadow brush).
Try Sigma E25, E35 or E40
Smudge Brush
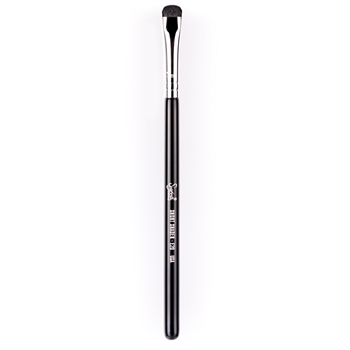
Smudge brushes are typically flat and made of short hairs. They are easily recognizable because of this unique design. Occasionally they may appear to be rounded in shape, but their overall look is flat. These brushes are ideal for the following uses:
- Creating a rich, smoky eye
- Lining and contouring the eye softly
- Adding definition and depth to the eyelid
- Adding color and blending in the crease (a typical smudge brush designed for the crease may have a teardrop shape)
Try Sigma E20 brush
Angled Eyeshadow Shader Brush
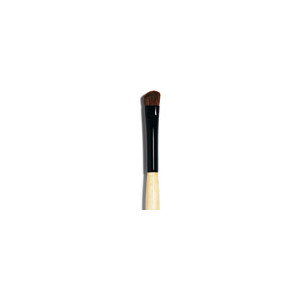
Great for contouring, and making a smokey eye by adding eyeshadow to the outer-v. I sometimes use it to apply eyeshadow to my lower lashline.
Try Sigma E70
Angled Brush/Liner Brush
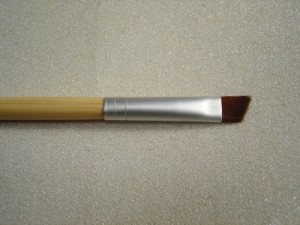
Line your eyes with precision using an angle brush. These brushes feature slanted hairs. which make eyeliner application simple. Use the angle brush to define the lash line, the brows and the crease.
These brushes work wonders for women who have trouble drawing a precise line that isn’t obvious. The bristles of the brush are typically flat and slightly firm to the touch, ensuring that it will deposit color only in the spots where it is directed. The trimmed angle shape allows the brush to fit easily into hard-to-reach spots, like the corners of the eyelid and around the lashes.
Try Sigma E65
Eyeliner Brush
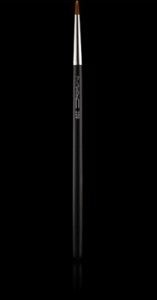
Its tapered, slim shape ensures precise, clean application without the bumps and skids that sometimes occur with a pencil. These thin brushes are appropriate for liquid, gel and cream liners. Many women prefer to wet their eye shadows and use these as liners instead. This practice offers greater versatility in color, but it also requires a great brush to get the job done properly. A flat eyeliner brush is perfect for this purpose. The brush holds an ample amount of color and deposits it with ease to the area just above (and below, if desired) the lash line. In order to achieve the most clean, natural-looking line, wiggle and dab the brush gently but firmly against the lash line
Try Sigma E05
Mascara Brush/ Spoolie
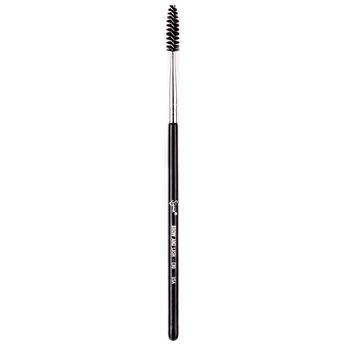
Though all mascaras include a brush wand of their own, many women prefer to use a separate mascara brush in order to keep the mascara bacteria- and germ-free. Mascara brushes are reusable and should be washed after each application. They can also be used to brush unruly eyebrows.
Try Sigma E80
Mascara Fan Brush
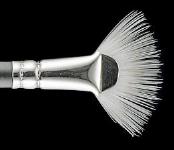
This type of brush provides clump-free, precise mascara application to the upper and lower lashes. This works especially well with the lower lashes (in my opinion). It’s also great for removing clumps. I have MAC’s 205 (PRO only), although several other brands like Make Up For Ever, and Paula Dorf have them as well
Tip: When you invest in brushes, make sure that they are soft to the touch and that the handle fits comfortably in your hand. If you care for your brushes properly, they should last for many years. It pays to purchase quality brushes if you’re willing to take care of the brushes (see my post on Cleaning Your Makeup Brushes). You’ll find your makeup easier to apply, your finished look more natural, and the whole makeup process faster with the proper tools.
If you want to see how I use these brushes, check my youtube channel for tutorials.


