Makeup By Kim Porter

Tutorials

Tutorial Tuesday: Workplace Safe Smoky Eye using Buxom Eyeshadow in ‘Pug’

Tutorial Tuesday Purple Grey Smoky Eye


Right now, I love cream eyeshadows due to their ease of use, and so far, they have left me without disappointment in the longevity area. For this Tutorial Tuesday look I used:
– Buxom Eyeshadow in ‘Pug


Buxom Buxom Stay-There Eye Shadow


-Make Up For Ever Aqua Cream #26
 

MAKE UP FOR EVER Aqua Cream


Tutorial Tuesday Buxom Eyeshadow in ‘Pug’


Steps

1. Prime lids with UDPP
2. Blend primer upward
3. Apply brown eyeshadow to crease, focusing more on the outer corner
4. Blend eyeshadow into crease, and add more if you’d prefer a darker more defined crease
5. Apply Buxom Eyeshadow in ‘Pug’ to the lid and blend up to the crease (make it as dark or as light as you prefer).
6. Apply the Make Up For Ever Aqua Cream #26 to the center of the lid and blend
7. Use a black liner (I used one from Physicians Formula) to define the upper lash line
8. Use a smudge brush to “smoke out” the black liner that was applied in step 7
9. Apply Mascara

Disclosure:  Items used in this post were purchased by myself as well as provided by a company or its PR for review purposes.  I was not compensated for this post. This post also contains affiliate links.

Tutorial Tuesday: Learn How to Get a Natural Looking Brow with this Eyebrow Tutorial

Makeup by Kim Porter Eyebrow Tutorial


Eyebrows are my favorite thing to do.  If there was one thing I couldn’t walk out of the house with, it would be my brows.  When done correctly, they shape your face, and make you look put together.  I’ve been asked plenty of times about how I do my eyebrows.  I wish I had time to do a video eyebrow tutorial, but, unfortunately, I do not.  Until then, here is an eyebrow tutorial / pictorial I put together for my instagram peeps.

To me, eyebrows should look natural.  No blocks, no halos… I mean, to each his/her own, but, I absolutely despise overly drawn, sharpie looking eyebrows.  Depending on how I’m feeling or the look I’m going for, I will use a pencil, powder, or Make Up For Ever’s brow corrector.  Use what works best for you.

Here’s what you will need:

Tools

Flat definer brush – Sigma E15 Brush 

Small Concealer Brush – Sigma F70 Brush

Angled Brow Brush – Sigma E75 Brush

Spoolie – Sigma E80 Brush

Products Used for this Eyebrow Tutorial

IT Cosmetics Bye Bye Under Eye Concealer ‘Deep’ or LA Girl Pro Concealer ‘Fawn’

Brow Pencil (I used the IT Cosmetics No Tug Waterproof Eye Liner in ‘Brown’)

Taupe or light brown brow powder (Check the Sigma Makeup Brow Duo)

Model in a Bottle Brow Sealer

Steps

1. Use the spoolie to brush your eyebrow hairs to show its shape.

2. Take a pencil or use the angled brow brush with a brow powder to line/shape the brow

3. Depending on if I want my brows to be extremely neat (or SNATCHED) or if I want them to look regular, I’d do one of the following:

  1. Take the flat definer brush with concealer (your skintone or one shade lighter) to define & clean up the top of the brow.
  2. Take the flat definer brush with concealer (your skintone or one shade lighter) to define & clean up the bottom of the brow.

4. Use the spoolie again to brush the brow to see the shape.  Make any corrections if needed.

5. Use a blending brush to blend the concealer down towards the lid.  I like using my IT Cosmetics “No-Tug™” Heavenly Luxe Dual Eyeshadow Brush.

6. Use the angled brow brush to fill in sparse areas. Then use the spoolie again to brush the brows neatly back into place.

7. Use a brow sealer (Model in a Bottle) to maintain the look and shape of the brow.


Tips:

When using a brow powder with an angled brow brush, it is helpful to wet the brush to get a cleaner liner.

When using the Make Up For Ever Brow Corrector, try using an eyeliner brush (with a fine tip) to create hair-like strokes in areas where the brow is sparse.

Do NOT use black pencil; taupe or brown is a better option as either will not look as harsh, and will appear more natural.

Using a concealer 2 shades or more lighter will give you that awful halo effect. Go for it, if that’s your preference.


For more tips check Brows Beyond Powder


Did you find this eyebrow tutorial helpful?


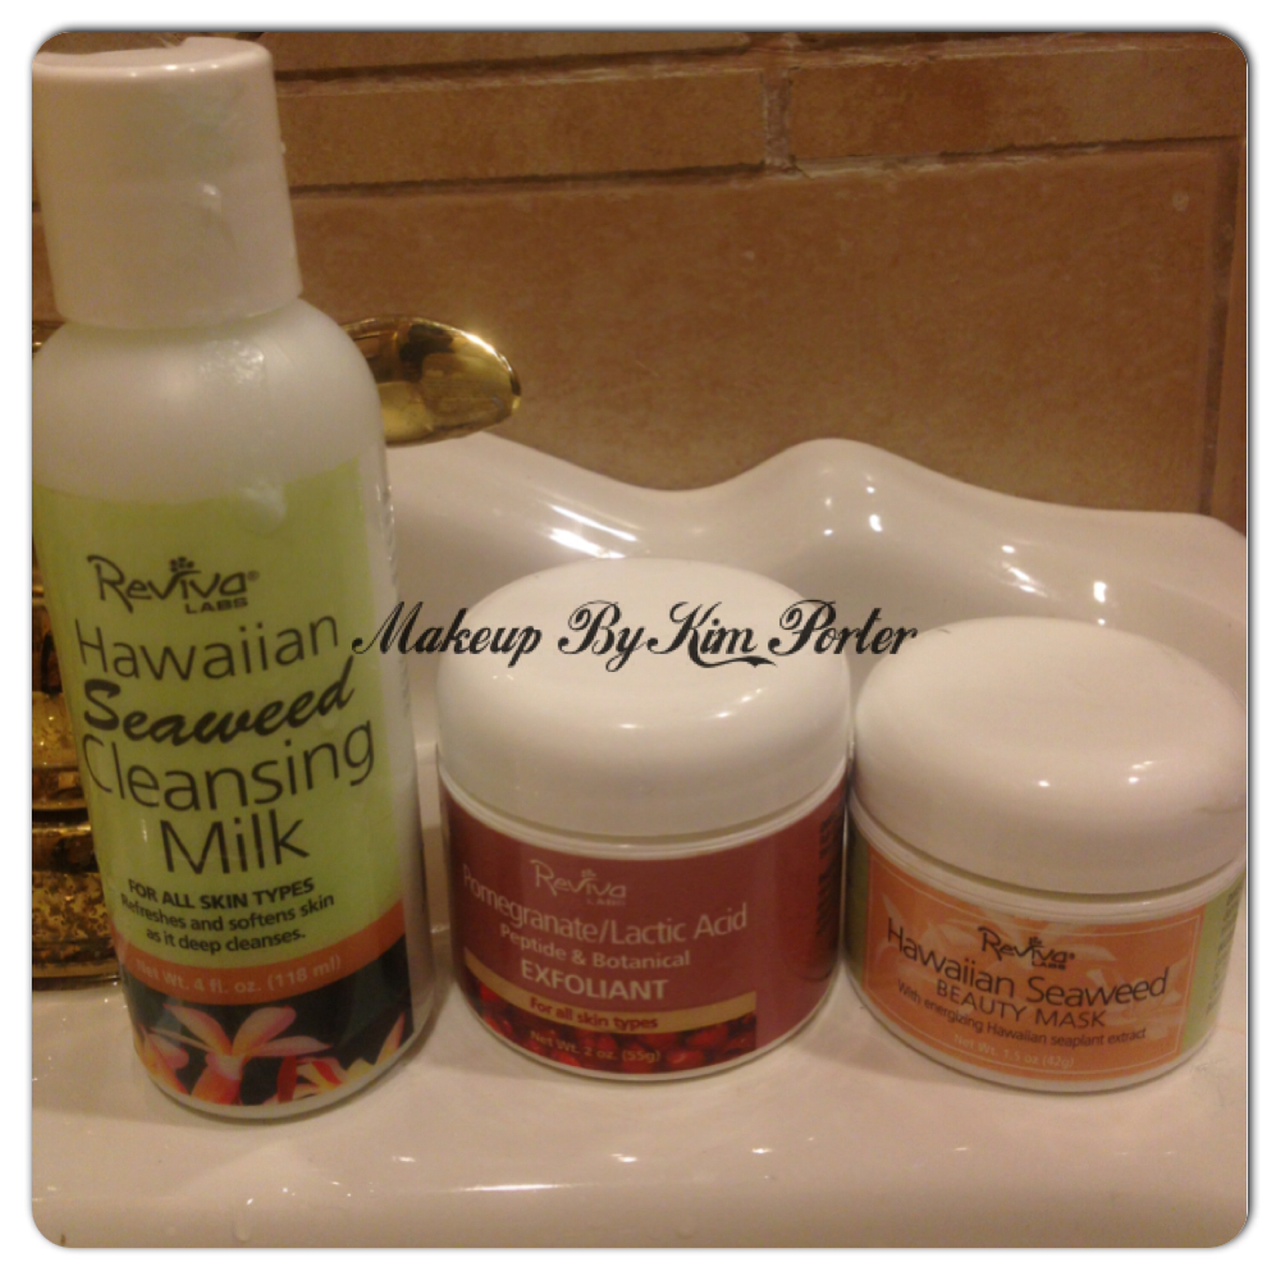
How to get your at-home spa facial on with Reviva Labs {For All Skin types}

Last week I reviewed Reviva Labs Hawaiian Seaweed Facial Cleansing Milk.  Have you check out my review?  If you haven’t tried Reviva Labs products yet, what are you waiting on?  They’re amazing! The best part is that they are affordable (and cruelty-free)!


at-home spa facial reviva labs skincare

 
Twice a week, or whenever I have time, which is usually on a Sunday, I give myself at-home spa treatments.  These treatments include facials, manicures and pedicures.  Since using Reviva Labs skincare products, I have a new at-home spa facial regimen.  After a few weeks of doing this, my skin is softer, smoother, and brighter.  My skin looks healthier than ever.  A coworker even commented that “I have to speak to your husband because you look like you are getting too much sleep.  You look nice.”  Another coworker stated that I had “the glow”… the pregnancy glow; however, I am not at all pregnant .:lol:.


Here is how to use Reviva Labs products for an at-home spa facial:

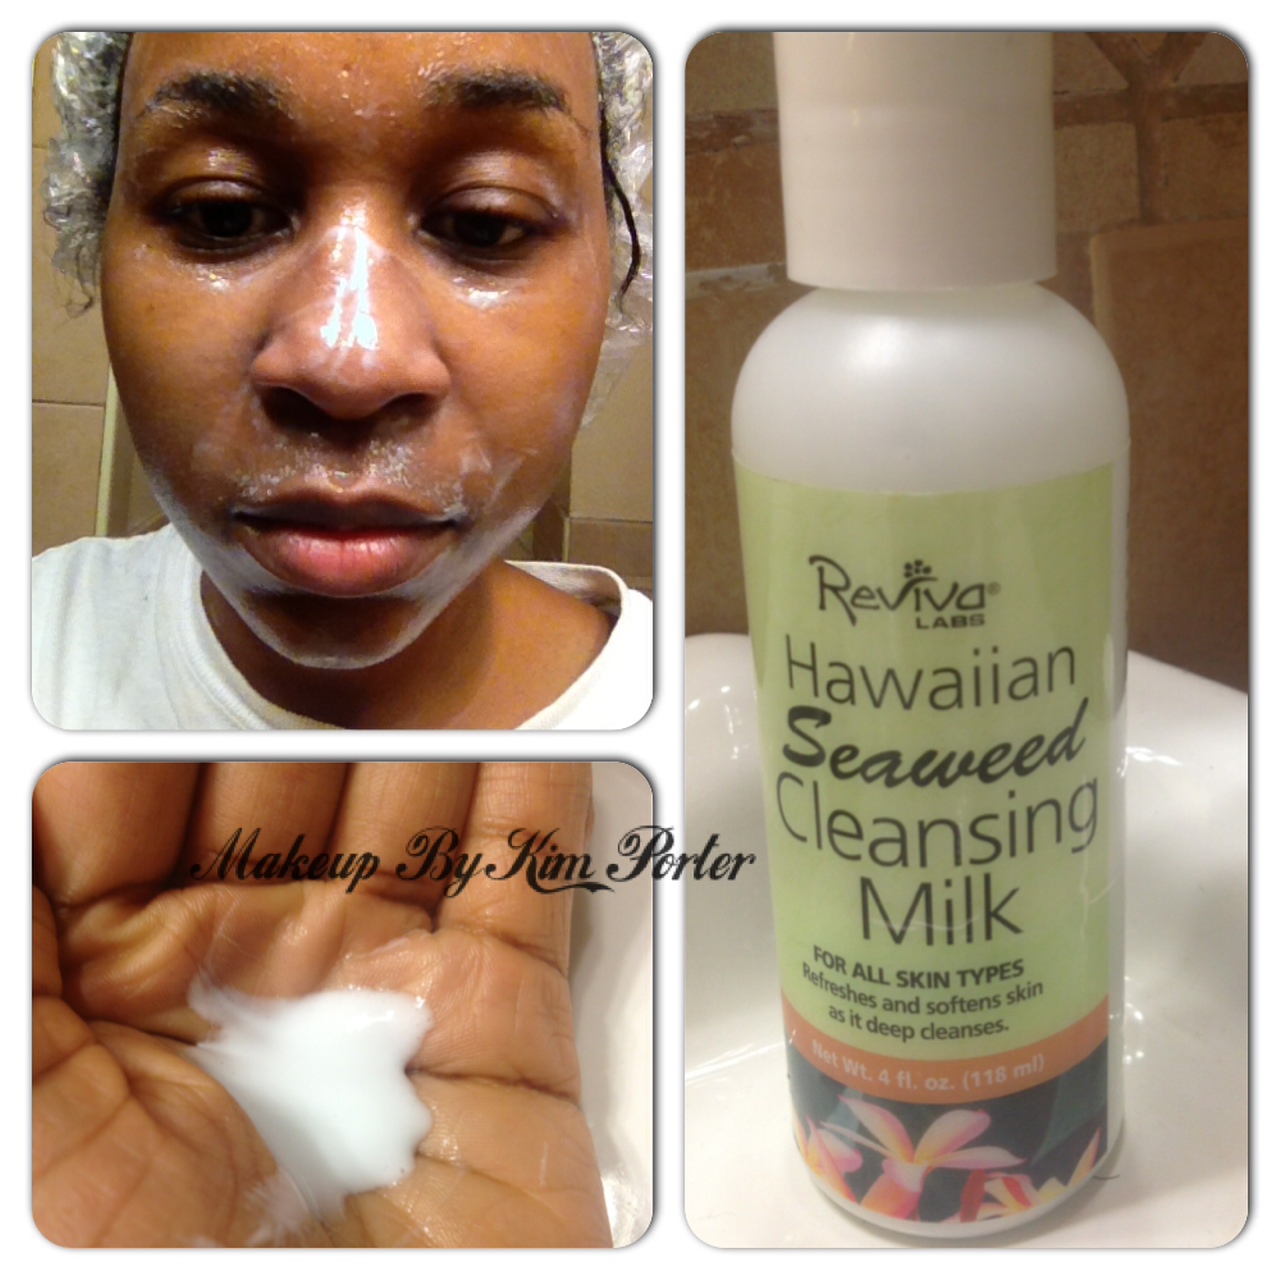
1.  First, cleanse skin with the Hawaiian Seaweed Cleansing Milk.


at-home spa facial reviva labs hawaiian seaweed facial cleansing milk

 
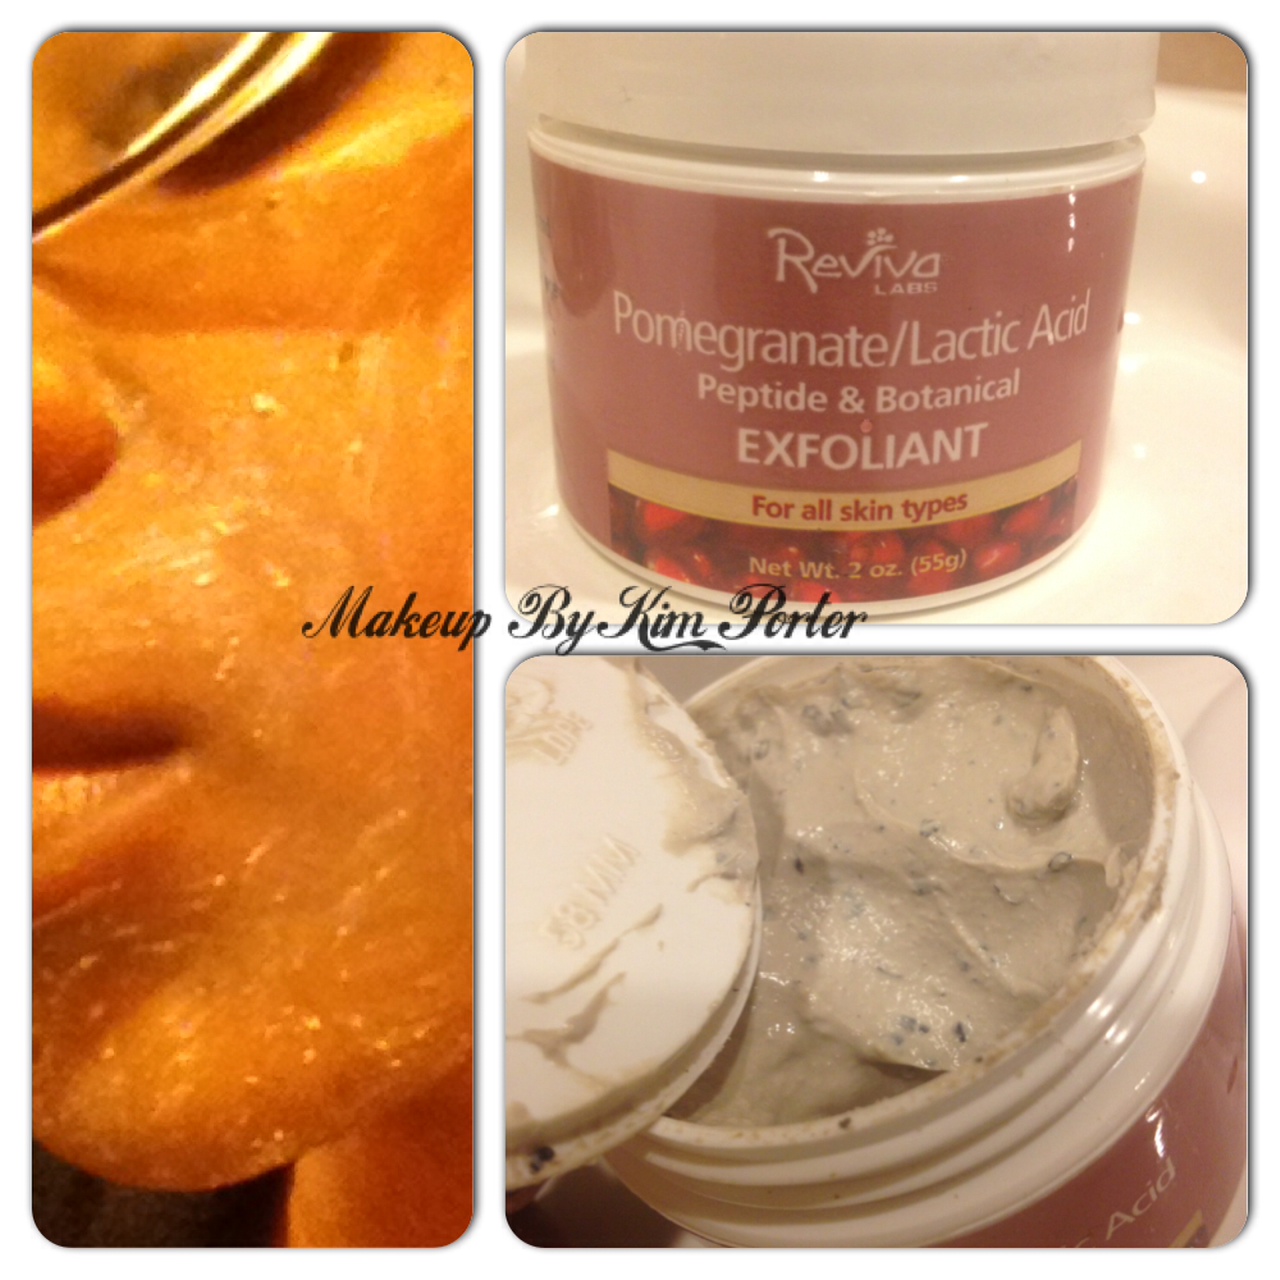
2.  After rinsing off the cleanser, apply the Reviva Labs Pomegranate/Lactic Acid Exfoliant.  I love this exfoliant because it is gentle, and natural.  You get immediate results, too.


at-home spa facial Reviva Labs Pomegranate/Lactic Acid Exfoliant

 
3.  Let the Exfoliant dry 3 to 4 minutes, then rub off with fingers.  Rinse off any extra debris with water or wet washcloth.

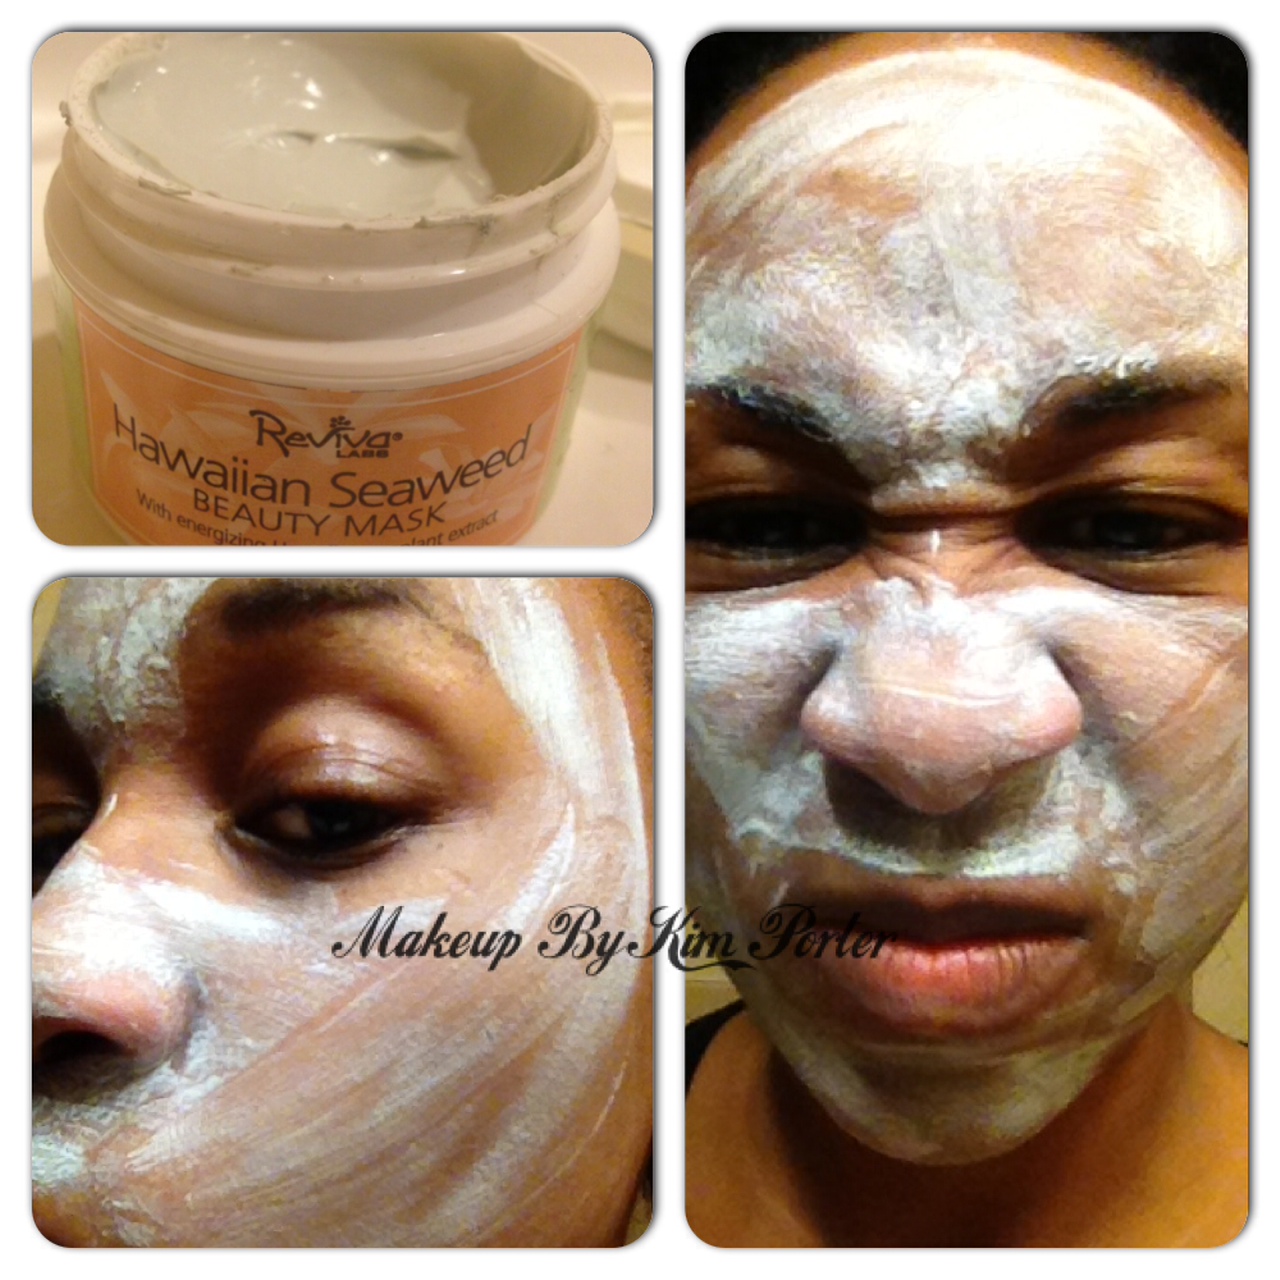
4.  Wait a few minutes, then apply the Reviva Labs Hawaiian Seaweed Face Mask in a medium to heavy coat and leave on for 20-30 minutes.  5.  Remove with a warm wet face cloth.  Your skin will already look brighter, fresher and feel softer.


at-home spa facial reviva labs hawaiian seaweed mask

6.  Apply your moisturizer, or  use the Reviva Labs Makeup Primer #202, which doesn’t only have to be used under makeup.  It can serve as a one-of-a-kind moisturizer.  It leaves the skin feeling soft as silk!  It works well as a makeup primer, too! Review will come soon.


What does your at-home spa facial routine consist of?


Dislcosure: Products mentioned were provided by the company or its PR for review consideration.  I was not compensated for this post.  These are my honest opinions.

Holiday Nail Art: Shine Bright Like a Diamond this New Years Eve by Diosa Nails & Polish

We all know that nail art is in! Unfortunately, not all nail art is created equal. Here are a few Holiday Nail Art ideas and a bonus tutorial to non-cheesy holiday nails:

(1) The Glitter Gradient Holiday Nail (Pictorial Below)

The Glitter Gradient lets you carry your nails from Hanukkah to New Years Eve. The glitter will emulate snow fall during Christmas and will give you some sparklers for New Years.

(2) Reverse French or Half Moon Mani

Both are very sophisticated and perfect for a chill Christmas with the family and New Years party with your friends. A general guideline is to use the lighter color as the base color and bolder/opaque colors for the top color. Here are some color combination suggestions:

– Silver base & Blue top

– Gold base & White top

– Silver base & Red top

– Gold Base & Dark Green top

(3) Accent Holiday Nail

The accent nail allows you to be subtly sassy. You can have a simple one color accent Holiday Nail for Kwanza and add some pizzaz to that same mani with embellishments or nail strips for New Years. It will save you a trip to the nail salon! Get creative and use some nail strips for the accent nail or dip the accent nail in a cup full of real glitter. Visit your local craft store for tiny embellishments.

New Years Eve Party Nails Diosa Nails & Polish

Here is tutorial for the Glitter Gradient nail:

What You’ll Need (what I used):

 – Base Coat  (Seche Vite)

 – Top Coat (Seche Vite)

 – Glitter Polish (Somethin’ Extra, DIOSA Nail Polish)

 – Nude Polish (Puff Pastry, DIOSA Nail Polish)

 – Orange Stick

 – Embellishment (Stud, Stone, or Diamond)

New Years Eve Party Nails

Step 1:

– Apply Base Coat

– Apply One Coat of Puff Pastry

– Let dry for about a minute

New Years Eve Party Nails Step 1

Step 2:

– Apply the first “level” of Somethin’ Extra. Start painting just above the cuticle line.

– Allow to dry for a bit. If you don’t let it dry, some glitters can get gooey.

Step2New Years Eve Party Nails Step 2

Step 3:

– Apply the second “level” of Somethin’ Extra. Start painting just above the bottom of the first level.

– Allow to dry for a bit.

New Years Eve Party Nails Step 3

Step 4:

– Apply the third “level” of Somethin’ Extra. Apply the last level only across the nails’ free edge (nail tip).

– Allow to dry for a bit.

New Years Eve Party Nails Step 4

Step 5:

– Paint a tiny bit of clear nail polish on the spot where you want the embellishment

– Put a little bit of clear nail polish on the tip of the orange stick to pick up the embellishment

– Place the embellishment in the clear nail polish spot. The clear nail polish will still be wet so you can move the embellishment to the exact spot.

– Repeat steps above for each nail.

New Years Eve Party Nails Step 5

Step 6:

– Apply top coat over the entire nail, including the embellishment


Socialize with  DIOSA Nails & Polish:

http://www.DIOSANAILS.com    |    Facebook.com/DIOSANails    |    Instagram & Twitter: @DiosaNails


At the end of your manicure, apply a little less than a pea-sized amount of Neutrogena’s Norwegian Formula® Hand Cream to your hands and nails, making sure to massage the cream into your cuticles. The Neutrogena’s Norwegian Formula® Hand Cream will not only keep your hands , nails and cuticles moisturized, but, will also extend the life of your manicure.

Disclosure: I received this product for review consideration because I am a BzzAgent.  All opinions are honest and are my own.  I was not compensated for this post.